

How To Make Shoe Covers
Jump to Tutorial
Here is an easy tutorial for DIY Shoe Covers, which volition help keep your shoes protected and your floors clean. It can also be used to brand booties if your local hospital or medical facility has requested donations of homemade shoe covers.
This winter has been a hurting in the butt and has acquired all kinds of bug. Most winters our temps fluctuate so that the snow melts, but the white stuff has stuck around. This ways our floors are a mess. Nosotros do have tile in our entry surface area (which nosotros cover with an outdoor carpet in the wintertime) and often remove shoes, merely when y'all are carrying in groceries or going in and out a lot information technology is hard to keep removing your shoes. I article of clothing a lace-upward low ascent hiking boot which provides a lot of traction and keeps my feet dry and warm. I don't want to remove them several times a day.
So I picked up some of those blue shoe covers at our local dwelling house improvement shop to wear over my hikers. They ripped quickly and did not keep the floors dry. That is very annoying.
How to Make Waterproof Shoe Covers
I realized that the design of these covers is good but the material is all wrong, so I made my ain. The disposable covers that I bought served equally a size guide. I decided to use a vinyl table cover that has a soft flannel backing for my booties. The fleece lining absorbs the wetness from snow and rain on my shoes.
Y'all tin can use whatever material you want for these shoe covers. The material you pick depends on how you will use the covers. Want to make your own bowling shoe covers, use a cute fabric that matches your team shirt. Demand to utilise these on floors that could exist slippery? Add inexpensive non-sideslip shelf liner to the bottom. If you lot need to create a bunch of disposable ones then use Smart Fab or a thin plastic table comprehend.
DIY Shoe Covers
Here is the pattern for the shoe covers. It is not intended to be a printable pattern, just rather a pattern guide to show you what size to cutting.
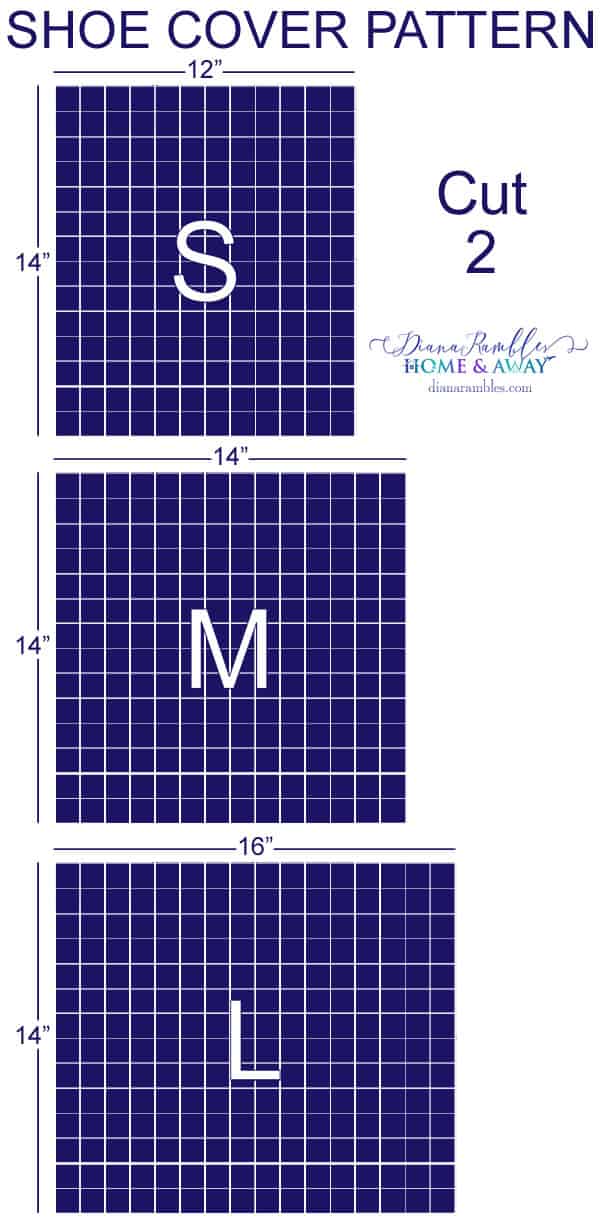
Two rectangles demand to exist cut, one for each shoe. You lot volition need 7/16 of a chiliad to make a pair, but if yous are like me you have a lot of fabric on mitt and volition brand many at once. I have institute that I am able to go a pair of shoe covers and two Face Masks out of 5/8 of a one thousand of cloth.
You can get the total tutorial at the bottom of this mail. My shoe embrace video tutorial can exist found on YouTube.
Y'all will also like making my DIY Ice Pack Eyemask, which is great for headache relief, or a Canis familiaris Collar Bandana.
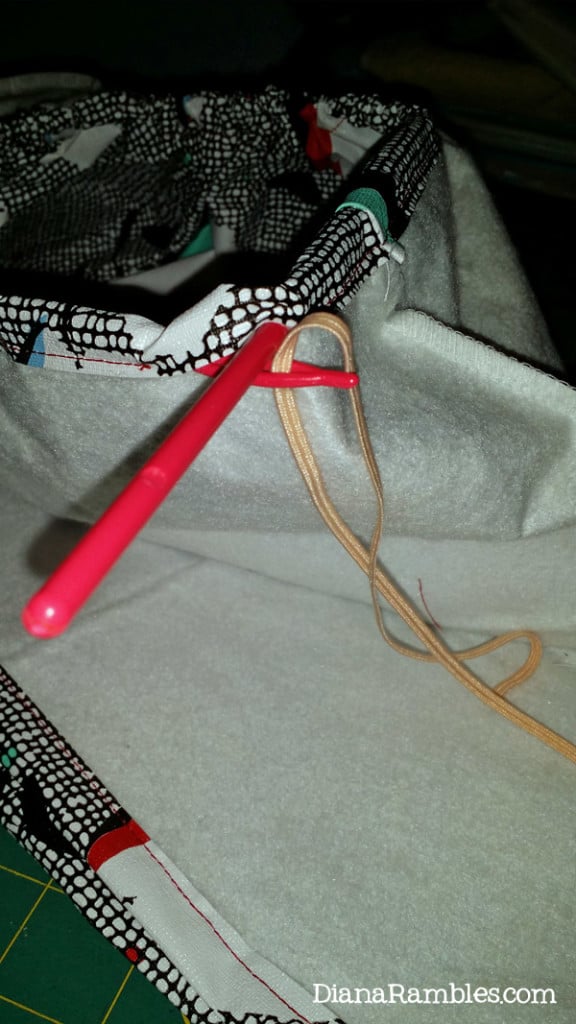
This tutorial requires yous to pull the elastic through a casing. You can use a safety pin on the end of your elastic, but I prefer to utilise the Easy Threader. It is my near favorite sewing tool of all time. If you struggle to pull strings, ribbons, or rubberband through a casing then you must become ane of these!
Reusable Shoe Covers
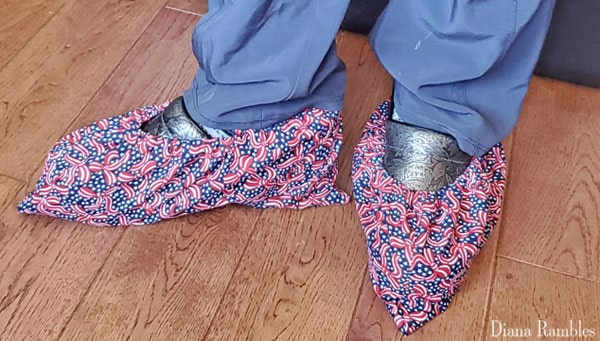
These shoe covers are non the prettiest, merely they are VERY functional! I fabricated them 6 years ago and they are however going strong.
I am so happy that I don't take to accept off my shoes and that I am not dragging a lot of melted snowfall and salt on my hardwood floors. The flannel inner lining dries quickly! I take these forth with me when I go to a friend's house and so I don't have to remove my shoes.
Please pin and share this! I'd dearest for you to tag me @dianarambles on any social media when you lot make a pair.

Prep Fourth dimension v minutes
Active Time 5 minutes
Boosted Fourth dimension 2 minutes
Full Time 12 minutes
Difficulty piece of cake
Estimated Cost $i
Materials
- textile
- thin elastic
Tools
- easy threader
- sewing car
- thread
- optional: serger
Instructions
- Take a look at the design guide higher up to determine the size encompass you need to make. Annotation: It is just a pattern guide to show yous what size to cut, not an actual printable pattern.
- Cut two (2) rectangles the same size.
- Fold the 14" side with right sides together and pin.
- If you are using a cloth such as vinyl, felt, or fleece that does non fray, skip to step 5. Otherwise, serge, zig-zag, or cut the top edge of each cover with pinking shears to prevent fraying.
- Serge or run up along the 7" sides of each folded rectangle.
- Turned down about a half-inch and stitch a casing to run the elastic through. I used red thread and so yous can run across where I stitched.

- Pull the elastic through the casing with a drawstring threader. The amount of elastic you utilise will depend on its elasticity and how tight you want the booties. You want it tight enough to stay on the shoe, merely not besides tight that you cannot stretch it over the shoe.
- Tie off the ends since the elastic is and so thin. If you utilise thicker elastic, you may sew information technology together instead of tying.
- Stitch the casing closed.
- Plough the encompass within out and skid information technology over your shoes.
Notes
Non-Slip Version If you desire to make your shoe covers non-slip, you tin can add puffy paint or hot glue to the bottom. You can also sew a 4" strip of shelf liner to the bottom earlier you stitch.

Source: https://dianarambles.com/diy-shoe-covers/
Posted by: brownagerelf.blogspot.com

0 Response to "How To Make Shoe Covers"
Post a Comment